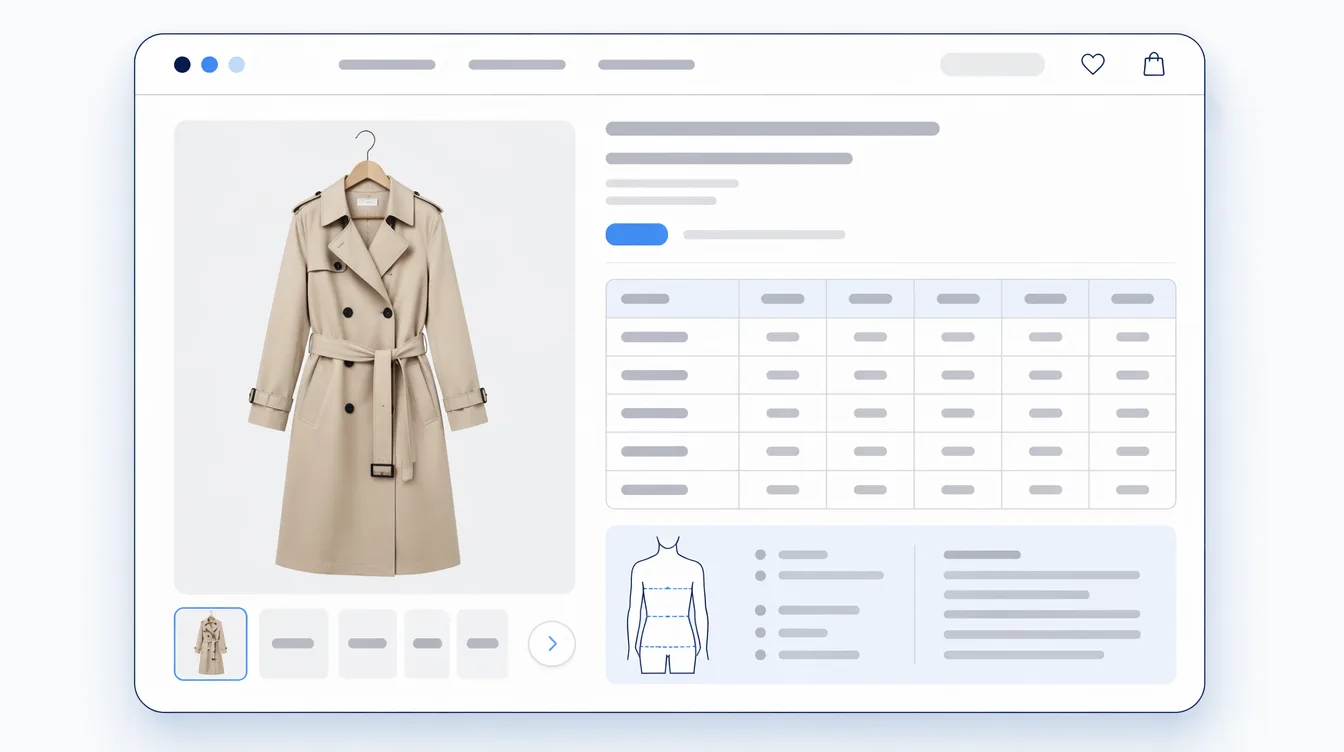
There are three ways to add a size chart to Shopify, and two of them cost nothing. Which one you want depends on a single question: how many different charts do your products actually need?
This is the step-by-step version. Every menu path below comes from Shopify's own help centre or from the settings in Dawn, Shopify's free reference theme, and we've noted where your theme may call things something slightly different. If you're still deciding whether to pay for an app at all, Free vs Paid Shopify Size Chart Apps covers that side. This one is about getting the chart onto the page today.

How to add a size chart to Shopify: pick your route first
Before opening the theme editor, count your charts. Not your products, your charts. Thirty t-shirts cut from the same pattern share one. Tops, jeans and dresses from two suppliers might need six.
That number picks the route for you:
| Your store | Route | Cost | Setup |
|---|---|---|---|
| One product type, one size run | 1. A page + a theme block | Free | Under an hour |
| Two to about five groups (tops, bottoms, dresses…) | 2. A page per group + a metafield | Free | An afternoon, then a step on every new product |
| Many groups, international orders, or a large catalogue | 3. A size chart app | Free tier, then usually monthly | Depends on the app |
The setup times are our estimates, not Shopify's. Everything else in the table follows from the steps below.
Before you start: make the chart itself
All three routes put a chart on the page. None of them decides what goes in it. So get the table right first, in a spreadsheet or on paper, and the Shopify part turns into copying.
The short version: say whether the numbers are body measurements or garment measurements (shoppers mix them up constantly), show how each one was measured, and add one line about fit, like "runs small, size up if between sizes". The full reasoning, with the research behind it, is in How to Build a Size Chart That Reduces Returns.
If you'd rather not build the table by hand, our free size chart generator lays out the rows and columns and hands you HTML you can paste straight into a Shopify page. Make the table first, then add it.

Route 1: one size chart for every product (no app)
This is the quickest, and for a store selling one kind of garment it's often all you'll ever need.
1.Put the chart on a page
- In your Shopify admin, go to Online Store › Pages and click Add page. Call it "Size chart".
- Build the table with the editor's Insert table button. It lets you add rows and columns above, below, before and after. If you've already got the table as HTML, click Show HTML and paste it in instead.
- Set the page to Visible and save.
One limit worth knowing: Shopify caps what you enter in the editor for a page at 64 KB. A size chart won't get near it unless you paste in images as inline data, so don't.
2.Show that page on your product template
- Go to Online Store › Themes and click Edit theme. From the page selector at the top of the editor, open Products › Default product.
- In the Product information section, click Add block and choose Pop-up.
- Set the Link label to "Size chart" and choose your page in the Page setting. Save.
Prefer the chart to open in place instead of in an overlay? In Dawn, the Collapsible row block has its own page setting, Row content from page. Pick the same page there and the chart sits in an accordion under the buy button. Other themes have similar blocks under their own names, so look for a pop-up, drawer, tab or accordion that can take a page.
What this route can't do
Every product on the template shows the same chart. Shopify says it plainly: edit a template and the change applies to every page that uses it. That includes the bag and the socks that have no business showing a chest measurement. You can dodge that by giving those products a separate template without the block. Once you're maintaining several templates, though, it's time for route 2.
Route 2: a different size chart for each product group (no app)
This is the method Shopify documents in its own pop-up size chart tutorial. You make one page per chart, and each product points at the page it should show. It needs a theme that supports dynamic sources. On a vintage theme, Shopify says you'll need to edit code or hire a Partner.
1.Create a metafield that holds a page
- Go to Settings › Metafields and metaobjects and choose Products.
- Click Add definition, name it "Size chart", and pick Page as the type. It defaults to one page, which is what you want.
- Save. Storefront access is switched on by default, so the theme can read it.
2.Connect a Pop-up block to that metafield
- In the theme editor, open the product template. Shopify's tutorial creates a new product template for this; you can also use the default one.
- Add a Pop-up block to Product information and set the link label to "Size chart".
- Next to the Page setting, click the dynamic source icon and select your Size chart metafield. Save.
3.Make one page per chart, then assign them
- Create a page for each chart under Online Store › Pages, exactly as in route 1: "Size chart: tops", "Size chart: bottoms", and so on.
- Open each product. In its metafields, pick the right page for Size chart. If you made a new template, pick it under Theme template too. Save.

The catches
- Every new product needs the extra step. Forget to pick a page and the "Size chart" link still shows up. It just opens an empty pop-up. Shopify's own tutorial warns about this.
- One page per product. The metafield holds exactly one reference. A product that needs a top and a bottom chart (a two-piece set, say) needs both on one page.
- No unit switching. The page is static text. If you sell in centimetres and inches, you type both, in every chart, and keep them in sync when a number changes.
- Changes are manual. Adjust a measurement and you edit the page; add fifty products and you assign fifty pages, one at a time.
If you're comfortable with Liquid, metaobjects are a step beyond this: structured entries with a field per measurement, which products reference through a metafield. Shopify's help centre points to Liquid and the Storefront API for showing them, so in practice it's a theme-code project rather than something you finish in the editor. Worth it for a developer. Overkill for most stores that just want a table.
Route 3: add a size chart with a Shopify app
An app earns its place when routes 1 and 2 turn into upkeep. That's the honest test. If they're working, keep them.
What size chart apps typically add over the free routes:
- Assignment in bulk. Attach a chart to many products at once, often by collection, type or tag, instead of picking a page on each one.
- Units handled for you. Enter measurements once; shoppers see centimetres or inches.
- Ready-made charts and CSV. Start from a template instead of a blank table, and move charts in and out with a spreadsheet.
- Help choosing a size. Some apps ask a few questions and suggest a size, or show how earlier buyers said the fit ran.
And the costs, which are real:
- Another thing on the product page. Every app adds some weight. How much varies a lot, and it's worth checking before you install. Add the Information Without Making the Page Slow shows what to look for.
- A monthly bill past the free tier. The pricing models differ more than the price tags suggest; Shopify Size Chart Apps: What the Price Actually Counts breaks that down.
- Where your charts live. Some apps keep them in your store, some on their own servers. That decides what you're left with if you ever uninstall.
Four checks after you add the size chart
Whichever route you took, open a product page on your phone and go through these. It takes five minutes.
- Can you find it without scrolling far? The link or row should sit near the size selector, where the question actually comes up.
- Does the table fit a phone screen? Wide tables get squeezed. If the columns collapse into a mess, cut a column or split the chart.
- Open a product that shouldn't have a chart. With route 2, that's where the empty pop-up turns up.
- Read one number back against the garment. A typo in a chest measurement causes exactly the return you set out to prevent.
Where Mitasu for Apparel fits
We build a size chart app, so take this paragraph with that in mind. Mitasu for Apparel is route 3 for stores that have outgrown route 2. You make a chart once as a template and assign it to products; shoppers get centimetres or inches, a measurement diagram, and a size suggestion worked out from their own measurements. The free plan has no cap on charts and includes CSV export. The data is saved in your own store, so it stays there if you uninstall. Bulk assignment and CSV import are on Pro.
What it doesn't do: it doesn't read your theme's variant picker, so the chart won't swap when a shopper picks a different variant. And it's built only for clothing. If you sell furniture or cosmetics, it's the wrong tool. If routes 1 or 2 are holding up fine, stay with them. The checks above apply to our app exactly as they do to anything else.
Frequently asked questions
How do I add a size chart to Shopify without an app?
Put the chart on a page (Online Store › Pages), then add a Pop-up block to the Product information section of your product template and choose that page. For different charts per product, follow Shopify's tutorial: create a Page-type product metafield, connect the Pop-up block's page setting to it as a dynamic source, and pick a chart page on each product.
Can I show a different size chart for different products?
Yes, without an app. Use a product metafield of type Page, connect it to the Pop-up block, and choose the right chart page on each product. Each product can point at one page, so a set that needs two charts should have both on the same page.
How do I add a table to a Shopify page?
Use the Insert table button in the rich text editor, then add rows and columns from the same menu. If you already have the table as HTML, click Show HTML and paste it.
Why does my size chart pop-up show up empty?
Usually because that product has nothing chosen in the size chart metafield. Shopify notes that blank references still show the link text but open an empty pop-up. Pick a page on the product, or give products without a chart a template that doesn't include the block.
Does a size chart work on vintage Shopify themes?
Not through the theme editor. Both free routes need a theme that supports dynamic sources and blocks. On a vintage theme, Shopify says you'll need to edit the theme code or hire a Shopify Partner.
Sources: Shopify Help Center — Adding a pop-up size chart to your product pages; Shopify Help Center — Using the rich text editor (tables, code view, 64 KB limit); Shopify Help Center — Product pages (template changes apply to every page using the template); Shopify Help Center — Adding product care instructions using metafields (Collapsible row + dynamic source); Shopify Help Center — Metaobjects; Shopify Dawn theme — Pop-up and Collapsible row block settings. Menu paths checked on 29 September 2026; Shopify moves them from time to time.